AES Vigilant Project (Acceptian Mothership) | |
| The Acceptian Mothership is one of my most ambitious progects. I have been working on it for over a year on and off. Here is the complete basic framing. | 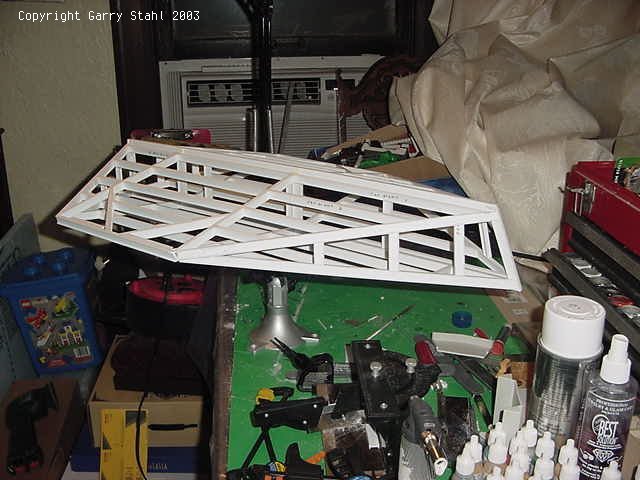 |
| The Vigilant is defined in The Long Patrol as three times the length of the Kongo and arrowhead shaped. The challenge here was to make a ship that fit that description without it screaming "Star Destroyer" Here is a stern quarter view. | 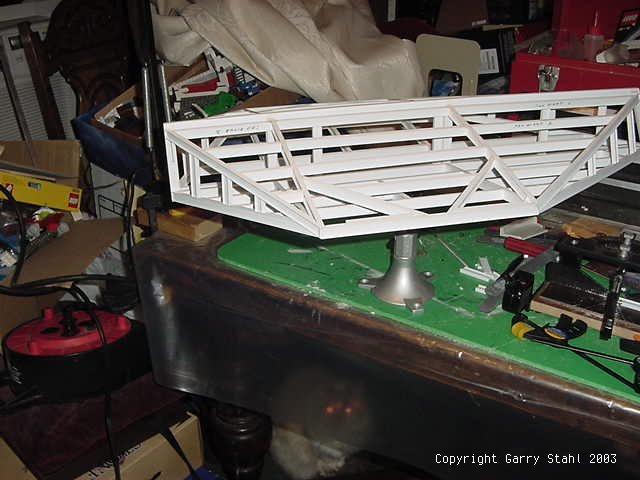 |
| The model is consttructed of Plastruct 3/8 "I" beams throughout. When I started the project with no clear goal in mind , those were the material at hand, so I stuck with them. A side on view. | 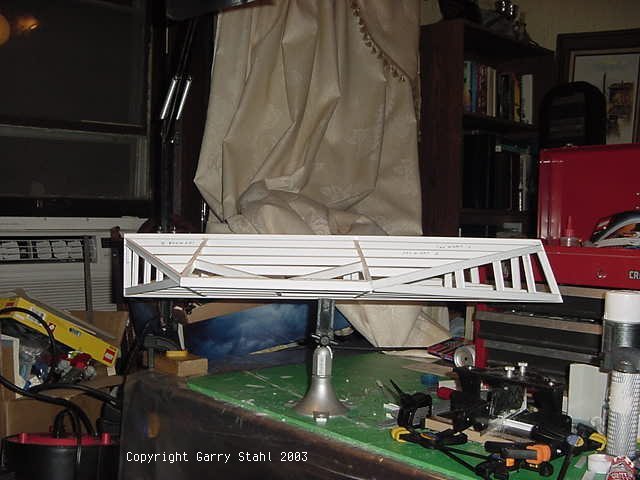 |
| One of the functions of the vessel is support of its escorts called "Strikers". These smaller ships are Acceptians "defiants" Although much larger than the Defiant that is mainly due to the Acceptian need for more physical space. This is a shot of one of the two openings that will be hanger decks when finished. | 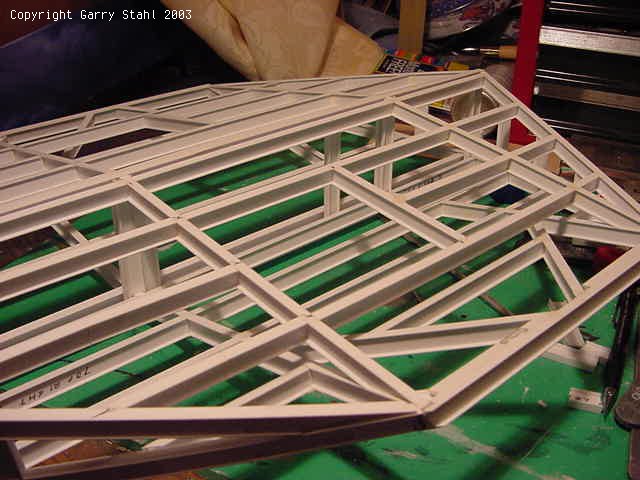 |
| Motherships are "space control" vessels. They carry not only weapons for ship to ship battles but a large body of troops and materials for ground operations. They are vulnerable in the ship to ship role as they are as maneuverable as wounded whales. They do posses a devastating broadside of weapons should anyone be foolish enough to battle one on it's own terms. Here is a bow on shot. | 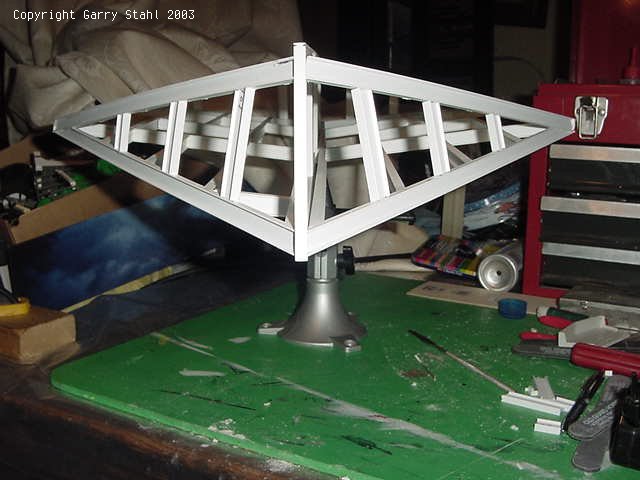 |
| Lastly a good shot of the basic structure of the model. As the secondary stringers are going in place the model is becoming ridged. I hope to have the rest of the frame finished in a few weeks and skin applied. I'll post new photos then |  |
| I have been asked "How did you build that? OK, my secrets revealed. A forest of clamps. Here is the model on the bench getting stringers put in place. You can never have too many clamps. To the right is a nice little miter box I got from Micromark. It can be set to the half degree and holds the saw firmly in place. What you see could not be done without it. In addition are sanding sticks, more clamps, putty and glue. I an using Testor's liquid cement for this project. All styrene models best use styrene cement. | 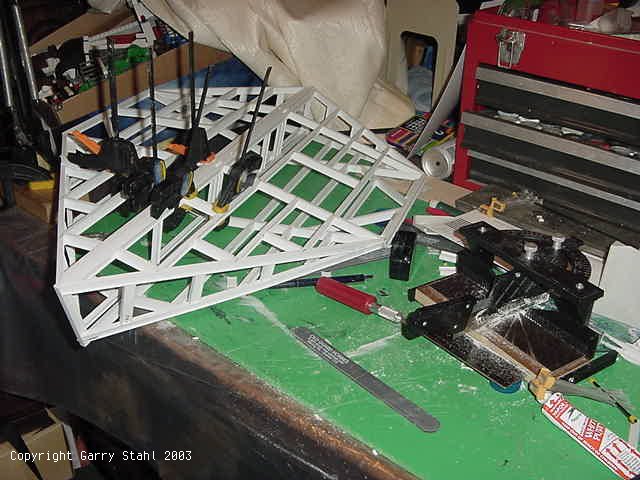 |
| Size comparison time. We have the Vigilant model at an earlier stage of construction along with the AMT/ERTL 1/2500 Galaxy class. Below that is a 1/2400 scale model of the USS Abraham Lincoln a Nimiz class aircraft carrier. As the two scales are only 8 feet to the inch different they are close enough for comparison. | 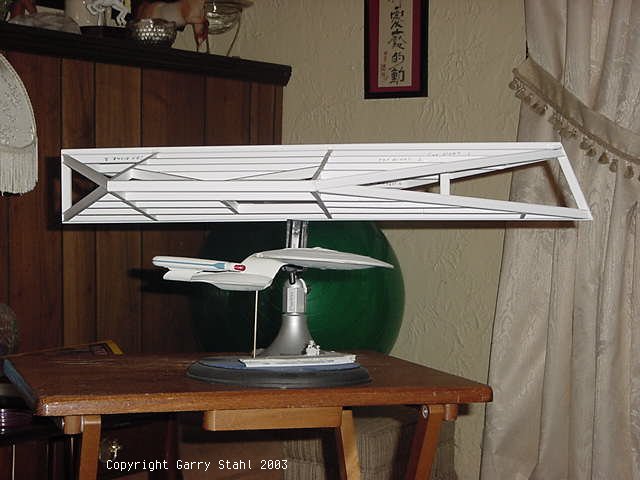 |
| Here is a closer look at the galaxy and the aircraft carrier. The Galaxy model is mostly completer except for the decals. I keep meaning to download the window decals from Starship Modeler, but of course, keep forgetting. I have removed all the raised panel lines from this model. I think it looks much better without them. The little Carrier was bear. It had more parts than the galaxy. It is a pewter gaming miniature. I forget who makes it. It was a fun build by itself. | 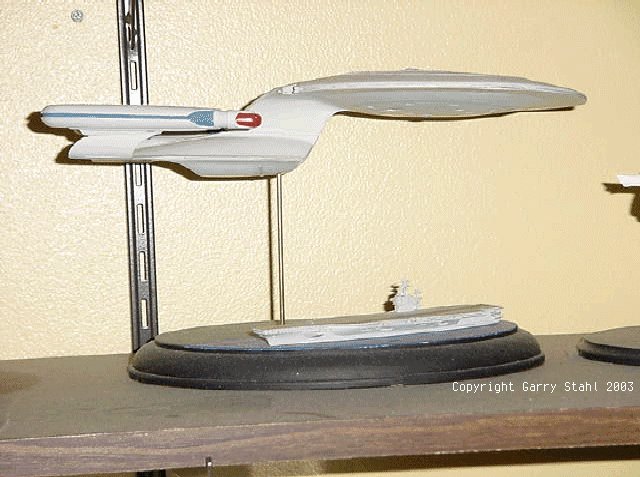 |
Update July 11 | |
| I finally have the framing finished. Skin is shortly going on this puppy. First a few shots. Here we have the front quarter view. Secondary stringers are finished and the hanger bays roughed out. | 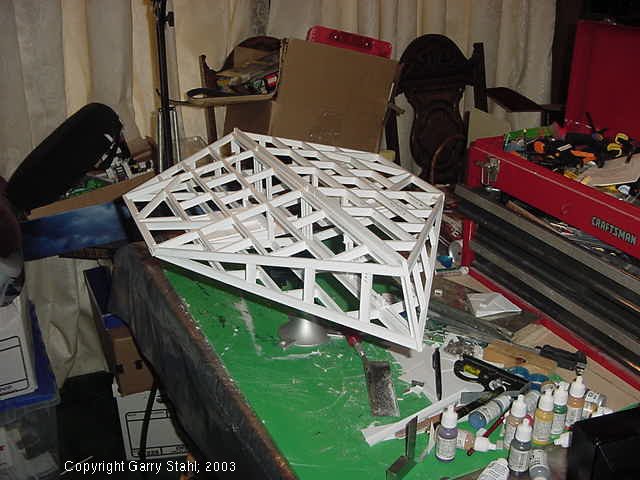 |
| A closer top view showing the pattern of the framing. The model is good and stiff now and no longer feels fragile to simply touch. The underside of the hanger bays can bee seen through the frame. As I expected this feature required working through the frame a lot. So holding off finisheing the frame until they where in place was a good idea. |  |
| Here is the underside and those hanger bays. I Like this feature, it is really working out. They are still in a fairly bare state and much needs to be done yet. | 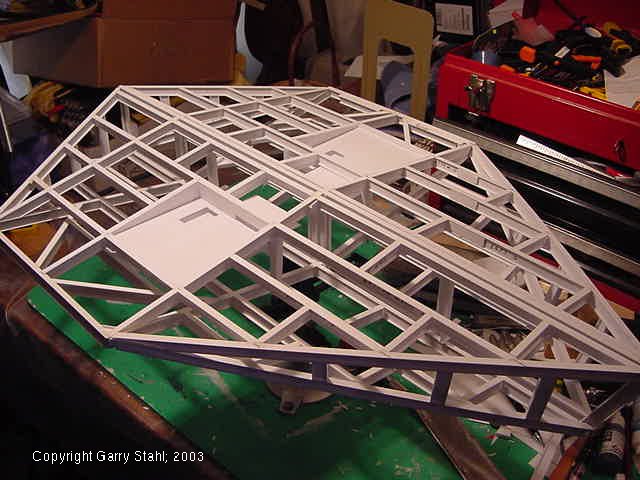 |
| A close up of the boxed in hanger bay. I flipped the photo over to give the view an approaching shuttle might see. | 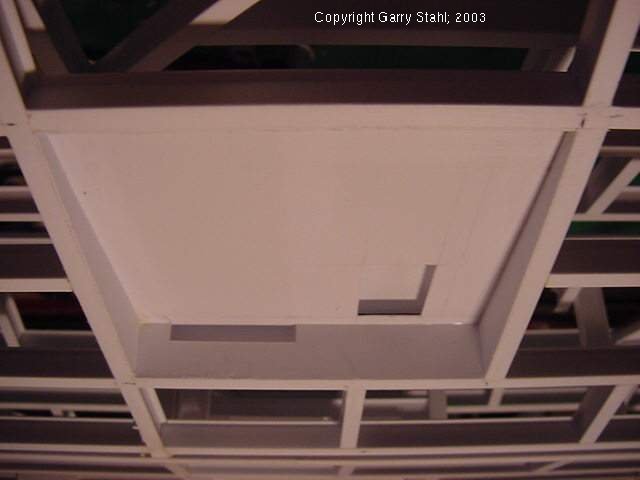 |
Update July 17 | |
| Skin about half way on. I have decided that this layer is for structure. The next layer will be for looks. This puppy will need a lot of greebling to not look too underdone. However, I need to balance that against looking over done. Top side, bow looking stern | 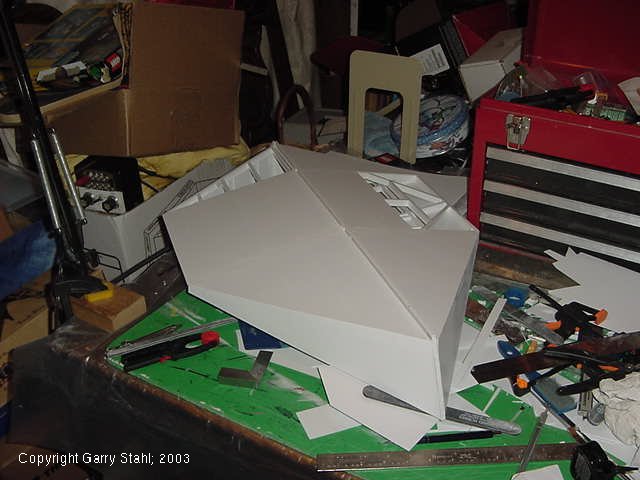 |
| Underside from the stern looking forward. The hanger bays are requiring that things bee fit around them rather than large sheets be used. Not a real problem, but it needs careful fitting. The opening for the Impulse engines can also be seen. Once the skin is on it is time to build the warp blades. |  |
Update July 21 | |
| The skin is fully on. This kind of the dermis, the underskin. A basic structural skin to tie the model together. A second skin will hold the greebles and details. That has yet to be worked out. A superstructure is also going over the exposed spinal area and down the bow. | 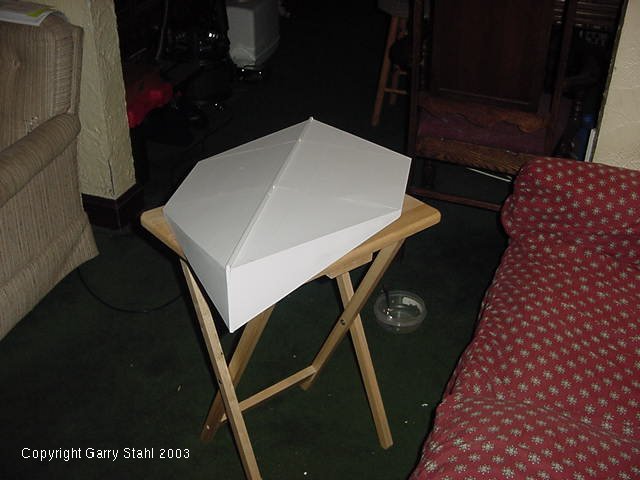 |
| Underside, skin on. The striker model can be seen in the hanger bay. Just a second skin and greebles go here, no super structure. The easy part is done. Now the hard part begins. | 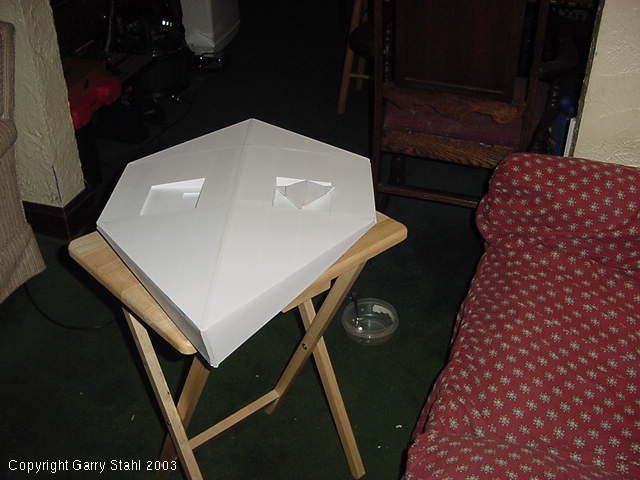 |
Update Aug 11 | |
| The Vigilant's drives. The warp blades are finished except for mounting. They will complete the side point of the arrow head when in place. | 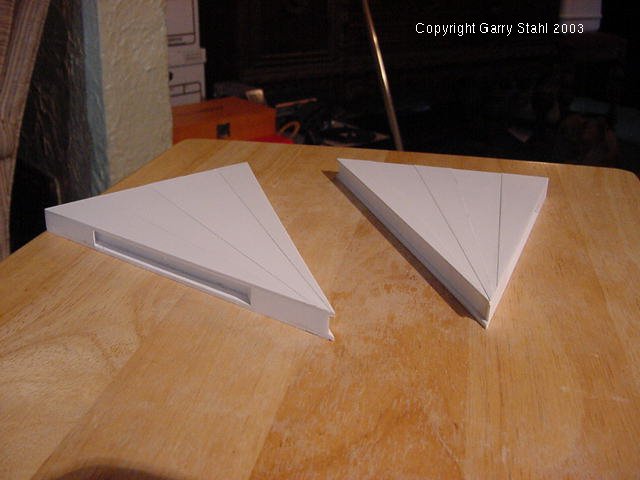 |
| Back view. The warp blades look the same top to bottom. The openings will have fluorescent rod inserted for the glowy bits once the model is assembled and painted. | 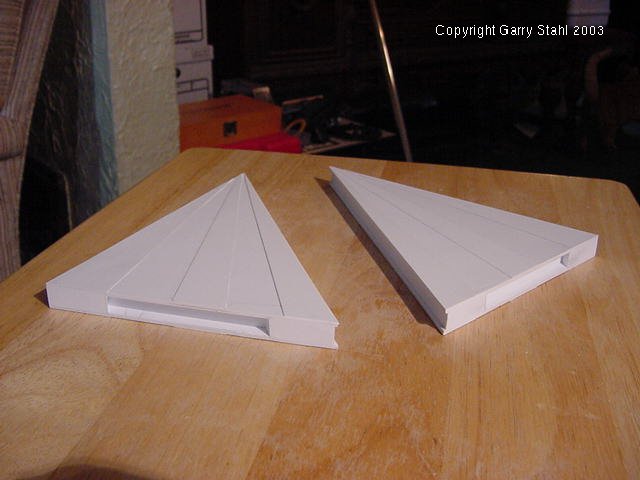 |
| More work on the hull. The first two bits of the superstructure are cut and are being tried in place here at the stern. The mini table saw is going to make this part of the job much simpler. |  |
Update November 29, 06 | |
| After a long break I finally have the ideas and energy to return to this project. It has been sitting teasing me all this time mind you. Well it's back on the bench. I have the plates for the superstructure laid out here. Below them the tracing paper and cutting mat. Lifesavers when the parts are larger than any sheet of plastic your own. Now glue and much fitting will ensue. |
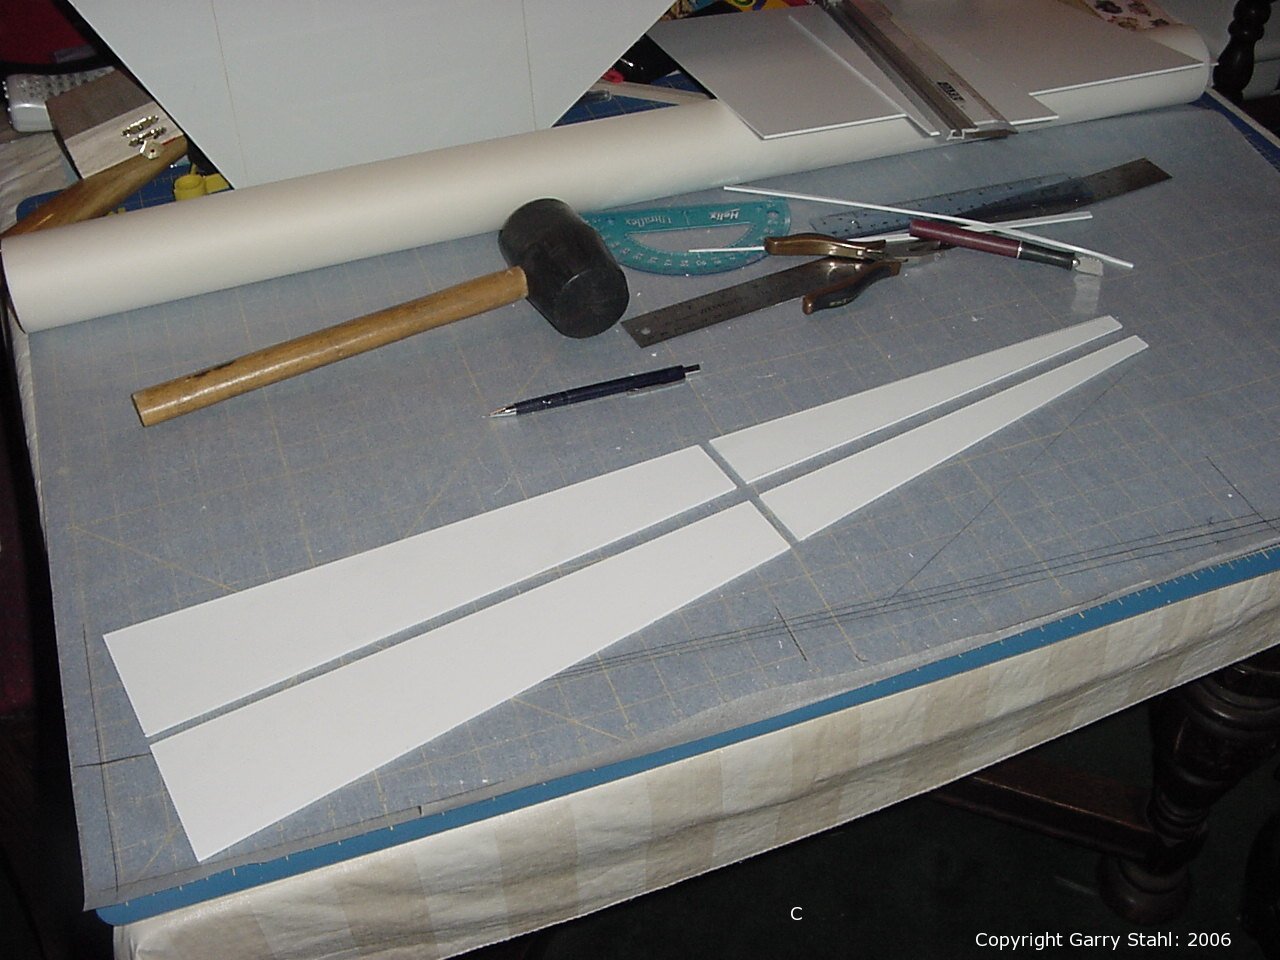 |
| Here I have the superstructure deck in place. Currently it is simply a dry fit. There is a lot more work to do. |  |
| Same view from the bow. The model is starting to take on some shape. In the stern under the decking you can make out the single support that is holding the deck up. I need a few more of those. | 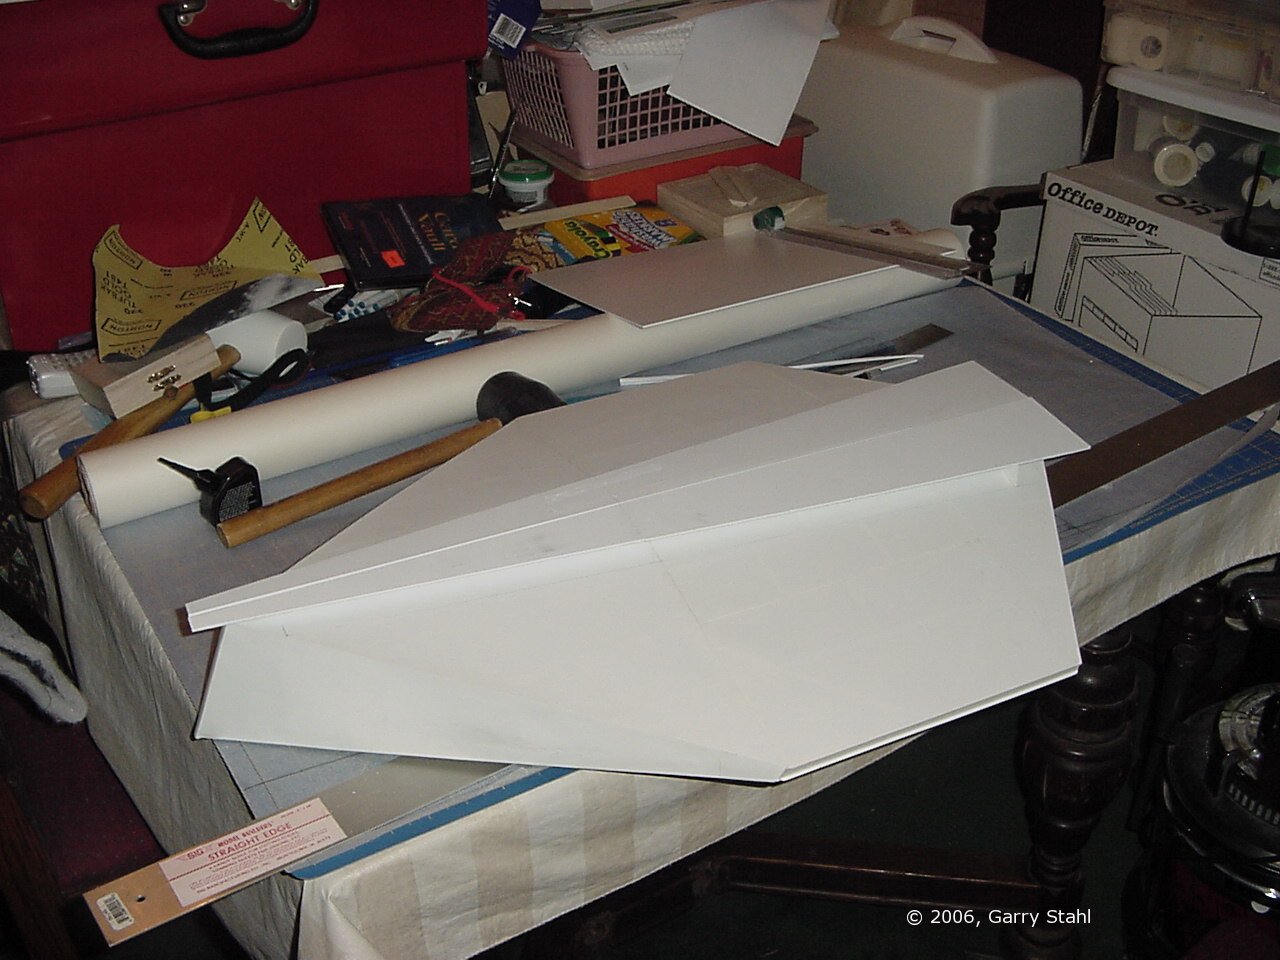 | Your Comments Welcome. |
